Publishing your first post on WordPress is a milestone in your journey as a content creator. WordPress makes it incredibly easy to share your thoughts, stories, or news with the world. Here’s a straightforward guide to help you create your first WordPress post, ensuring a smooth and successful publishing experience.
Step 1: Log In to Your WordPress Dashboard
To get started, you need to access your WordPress admin dashboard. Simply add /wp-admin to the end of your website’s URL (e.g., www.yourwebsite.com/wp-admin) and log in with your username and password.
Step 2: Access the Posts Section
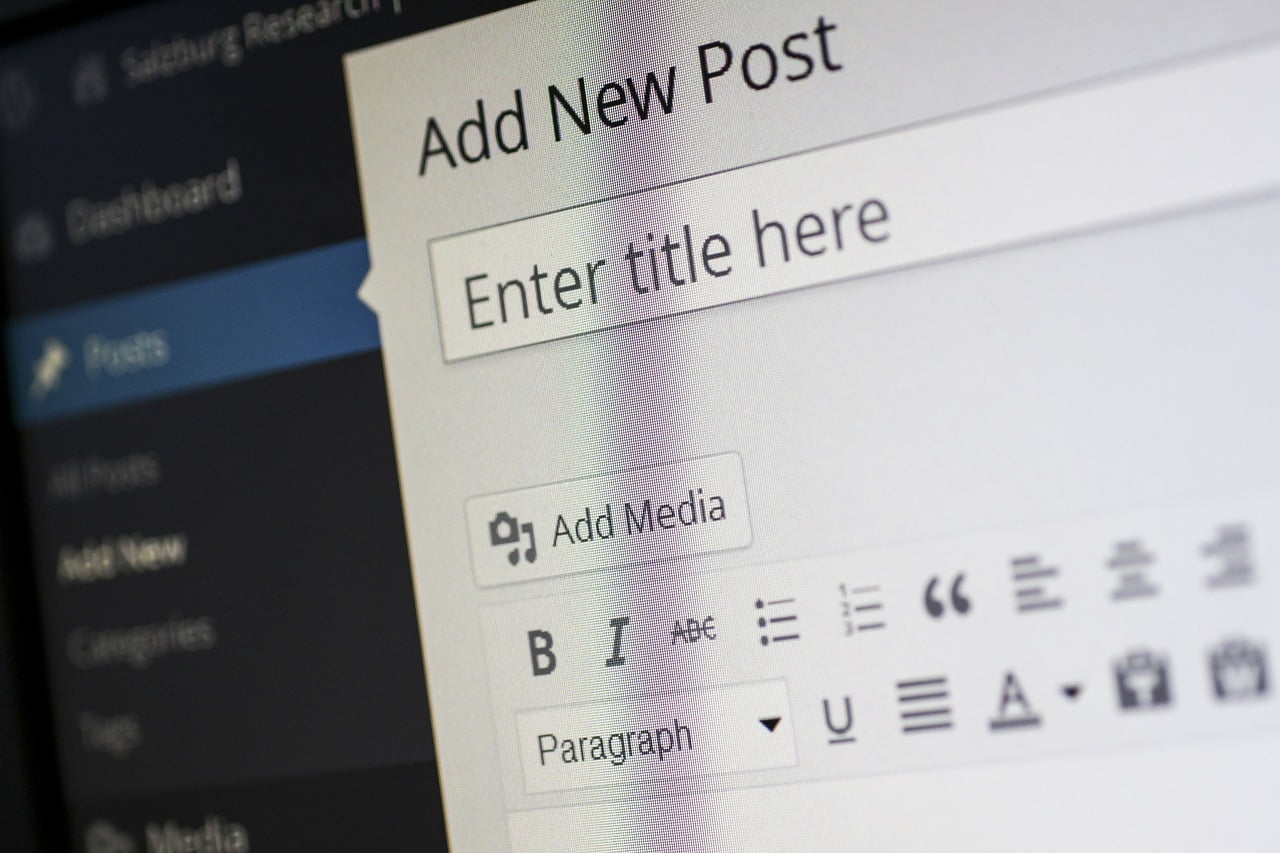
Once logged in, you’ll find yourself on the dashboard. Look for the Posts menu on the left sidebar. Click on Posts to expand the options, and then select Add New to create a new post.
Step 3: Enter Your Post Title
At the top of the page, you’ll see a field labeled Add title. Here, enter the title of your post. Make it descriptive and engaging to attract readers’ attention.
Step 4: Add Your Content
Below the title, you’ll find the content area where you can write your post. WordPress uses a block editor called Gutenberg, which allows you to add different types of content (text, images, videos, etc.) as individual blocks. You can start typing directly to add text, or click on the + icon to add other types of content blocks.
Step 5: Add Images and Media
To add images, click on the + icon, then select the Image block. You can upload files from your computer, select from the media library, or insert from a URL. For other media types, like videos or audio, choose the appropriate block and follow similar steps.
Step 6: Choose Categories and Tags
On the right-hand side of the editor, you’ll find the Document settings. Here, you can assign categories and tags to your post. Categories are broader sections under which your post can be classified, while tags are more specific keywords related to your post’s content.
Step 7: Set a Featured Image
Still within the Document settings, scroll down to find the Featured Image section. Click on Set featured image and select an image that represents your post. This image will be displayed prominently on your site, depending on your theme’s design.
Step 8: Preview and Publish
Before publishing, it’s a good idea to preview your post to see how it looks on the site. Click the Preview button at the top to open a new tab with your post’s preview. If everything looks good, close the preview, return to the editor, and click the Publish button. You’ll be prompted to confirm your publishing settings. Click Publish again, and your first WordPress post will be live for the world to see!
Conclusion
Congratulations! You’ve just published your first post on WordPress. The process is intuitive and user-friendly, making it easy for anyone to start sharing their content online. As you become more familiar with WordPress, you can explore more advanced features, such as customizing your post’s layout, using plugins to add functionality, and optimizing your content for search engines. Happy blogging!